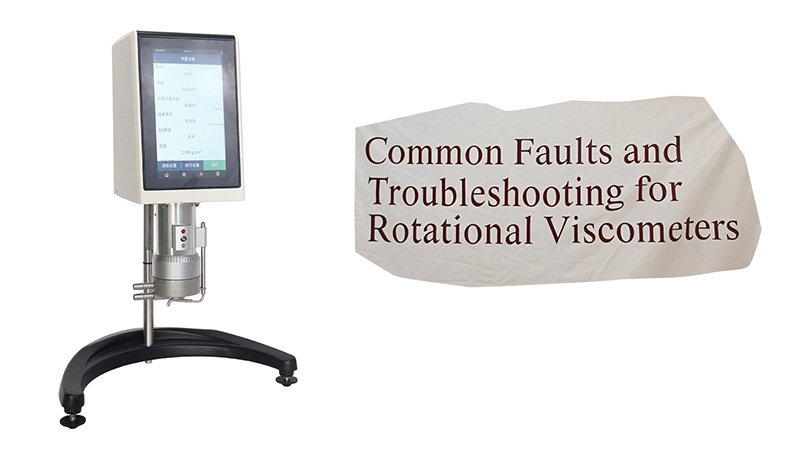
Your viscometer is giving strange readings, stopping your workflow. This downtime is costly and frustrating. Most common problems have simple fixes you can perform yourself.
To troubleshoot a rotational viscometer, first check power, connections, and speed settings if the rotor won't spin. For unstable readings, ensure your sample is bubble-free and at a uniform temperature. Regular cleaning and zero-point calibration are crucial for maintaining overall accuracy.
I got a call once from a longtime customer, Jacky in Italy. He was convinced his new viscometer was broken. "Stefan, it won't even turn on!" he said. I calmly asked him to check the power cord at both ends. A moment of silence, then, "Ah. It was loose." We both had a good laugh. It's a reminder that before you suspect a major failure, it's always best to start with the basics. Let’s break down these basic checks, one by one, so you can solve problems quickly and get back to your work.
Why isn't my viscometer's rotor spinning?
You've prepared your sample and hit start, but the rotor doesn't move. Production halts, and you worry about a costly repair. Often, the solution is surprisingly simple.
If your viscometer's rotor isn't spinning, first confirm the power cord is securely plugged in and the wall outlet is working. Also, check that the main power switch is on and that you have selected a valid, non-zero speed setting on the instrument's control panel.
This is the most common and alarming issue, but it's usually the easiest to fix. It rarely indicates a serious mechanical failure. By following a logical sequence of checks, you can identify the cause in just a minute or two. The key is to start with the most obvious external factors before looking at the instrument itself.
The Power Pathway
Think of the electricity's journey from the wall to the motor. First, check the plug at the wall. Is it secure? To be certain the outlet is working, plug in something else you know works, like a small lamp. Next, check the other end of the cord where it connects to the viscometer. Make sure it's pushed in all the way. Finally, locate the main power switch on the instrument itself. It's amazing how often this can be accidentally bumped into the "off" position.
Instrument Settings
If the power is fine, the next place to look is the control panel. The most common setting issue is that the speed is set to zero. If the target speed is 0 RPM, the motor has no instructions to turn, so it won't. Ensure you have selected a valid speed for your test. Some models also have safety features that prevent rotation if a rotor isn't properly detected or if the guard leg is not in place.
Here is a simple checklist to follow:
| Check Point | Action / Verification |
|---|---|
| Wall Outlet | Plug in another device to confirm the outlet has power. |
| Power Cord | Ensure both ends are plugged in securely. |
| Power Switch | Confirm the viscometer's main power switch is in the ON position. |
| Speed Setting | Check the display to ensure the RPM is set to a value > 0. |
| Instrument Status | Look for any error messages on the screen. |
What causes unstable viscosity readings?
The viscosity number on your screen is fluctuating wildly. You can't record a stable value, making your QC data useless. The problem is often the sample, not the machine.
Unstable readings are typically caused by three things: air bubbles trapped in the sample, uneven sample temperature, or environmental vibrations near the instrument. Ensuring your sample is uniform and the viscometer is on a sturdy, level surface will often solve the problem.
When the reading is not stable, our first instinct is to blame the instrument. However, a viscometer is an incredibly sensitive device that measures resistance to flow. Any small, external factor that changes that resistance will show up on the screen. My experience shows that over 90% of unstable reading issues are related to the sample preparation or the immediate environment.
Sample Preparation is Key
The two biggest culprits within your sample are air bubbles and temperature gradients. If you just mixed your sample, it is likely full of tiny air bubbles. When a spinning rotor hits an air bubble, the resistance suddenly drops to almost zero, causing the reading to dip. You must let your sample sit to allow bubbles to escape. Temperature is also critical. If one part of your sample is warmer than another, the viscosity will be different in those areas. The rotor will detect these differences as it spins, causing the reading to drift or jump. Using a thermostatic water bath is the best way to ensure your entire sample is at one uniform temperature.
Your Laboratory Environment
The viscometer must be on a solid, level, and vibration-free surface. If it is on the same bench as a centrifuge, mixer, or even near a heavy foot-traffic area, the vibrations will transfer to the sensor and cause noisy, unstable readings. Make sure the bubble level on the viscometer base shows that it is perfectly level.
| Problem Source | Solution |
|---|---|
| Air Bubbles | Let the sample rest after mixing. Pour it gently down the beaker side. |
| Uneven Temp | Use a temperature bath and allow the sample to stabilize for 15-20 mins. |
| Vibration | Place the viscometer on a heavy, dedicated lab bench away from other machines. |
| Drafts | Keep the instrument away from air conditioning vents or open windows. |
How can I fix inaccurate viscosity measurements?
Your readings are stable, but consistently off from the expected value. This makes you question all your data and could lead to costly errors. The solution is regular calibration and cleaning.
To fix inaccurate readings, first perform a zero-point calibration according to the user manual. If errors persist, thoroughly clean the rotor and shaft of any old sample residue. Spilled liquid can damage internal parts, so immediate and careful cleaning is crucial.
This problem is more subtle than a non-spinning rotor or a jumping reading, but it can be more dangerous. Inaccurate data can lead you to pass a bad batch of product or fail a good one. This issue almost always comes down to two things: the instrument's calibration has drifted, or contamination is creating extra friction.
The Importance of Calibration
Think of calibration as resetting the instrument's starting point. A zero calibration, done with no rotor attached, tells the sensitive sensor what "zero friction" feels like. This should be done regularly. If the zero point is wrong, every single measurement will be offset by that amount. For full confidence, you should also periodically check the viscometer's accuracy using a certified viscosity standard fluid. If the reading matches the value on the fluid's bottle (within tolerance), you know your instrument is accurate. If not, it may need professional service.
The Hidden Danger of Contamination
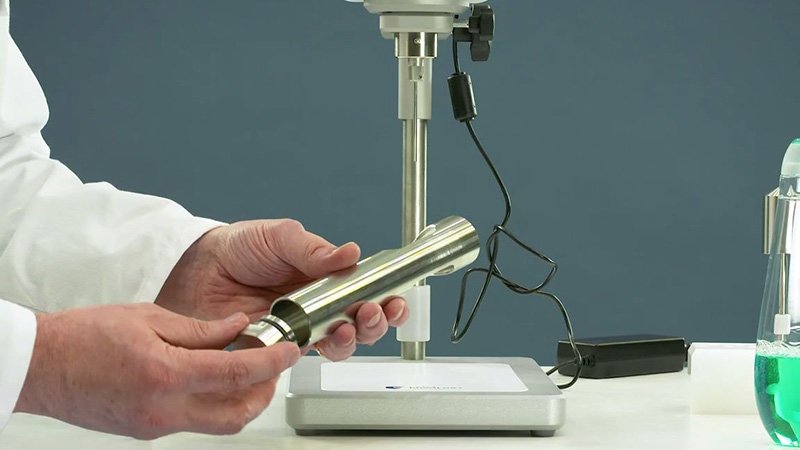
I've seen expensive repairs needed just because a small sample spill wasn't cleaned up right away. If a sample overflows and gets into the area where the rotor shaft connects to the instrument, it can dry and harden. This creates extra drag on the system that the sensor reads as viscosity, causing all your measurements to be artificially high. After every use, you must clean the rotor. If a spill happens, stop immediately, disconnect the power, and clean the affected area with a soft cloth and an appropriate solvent. Never let residue build up.
How do I properly maintain my viscometer and test tricky fluids?
You're testing something like paint, and the viscosity changes as you test it. You worry the instrument is faulty. The issue is often the fluid's nature, not the machine.
For tricky non-Newtonian fluids, you must use consistent rotor, speed, and time settings, as their viscosity changes with shear. Proper maintenance involves cleaning the rotor after every use, storing the instrument in a dry place, and checking cables for wear.
A viscometer is a precision instrument, and its longevity and reliability depend on two things: using it correctly for your specific sample type and performing simple, routine maintenance. Understanding these two areas will prevent many perceived "faults" and keep your instrument in top condition.
Understanding Non-Newtonian Fluids
Many fluids, like ketchup, paint, and cosmetic creams, are "non-Newtonian." This means their viscosity changes depending on how much stress, or shear, is applied. Water is Newtonian; its viscosity is the same no matter how fast you stir it. Paint is shear-thinning; its viscosity decreases the faster you stir it. When you test these fluids, the reading may change over time or be different at different speeds. This is not a fault! It is the true property of the fluid. To get repeatable results, you must create a standard operating procedure (SOP) and stick to it: always use the same rotor, the same speed, and record the value at the exact same time point (e.g., after 60 seconds).
A Proactive Maintenance Schedule
Preventative maintenance is the best way to avoid problems. A few simple habits will extend the life of your viscometer significantly. Cleaning is the most important. Old samples can corrode rotors and damage the instrument. Proper storage and handling are also key to protecting the sensitive internal components.
| Frequency | Task |
|---|---|
| After Each Use | Thoroughly clean the rotor and shaft. Wipe down any spills. |
| Weekly | Check that the viscometer is level using the bubble indicator. |
| Monthly | Inspect the power cord for any signs of damage or wear. |
| Annually | Perform a verification check with a certified standard fluid. Consider professional calibration. |
Conclusion
By understanding these common issues and practicing regular maintenance, you can solve most problems quickly. This ensures your viscometer provides reliable data and supports your work for years.