Are you experiencing uneven paint coverage, orange peel texture, or runs in your spray finish? These common problems often result from incorrect paint viscosity, leading to wasted materials and costly rework.
Paint viscosity is the fluid's resistance to flow, measured in centipoise (cP) or seconds. For spray applications, the ideal viscosity typically ranges between 20-24 seconds using a #4 Ford cup, ensuring proper atomization and surface coverage without defects.
Let me share my experiences from working with industrial paint shops and how proper viscosity measurement transformed their finishing operations from inconsistent to excellence.
What is Paint Viscosity and Why Does It Matter?
Many painters struggle with inconsistent results because they rely on guesswork rather than proper viscosity measurement. This approach leads to variable finish quality and excessive material waste.
Paint viscosity determines how well the paint atomizes through spray equipment and flows onto the surface. Too thick paint creates orange peel texture and poor coverage, while too thin paint causes runs and sags, affecting the final finish quality.
Having worked with numerous paint shops, I've noticed how understanding paint viscosity fundamentally changes finishing operations. Here's what I've learned about the science behind paint flow:
Understanding Paint Flow Characteristics
Paint viscosity isn't just about thickness – it's about how the paint behaves during application. Through my experience helping paint shops optimize their processes, I've identified these crucial aspects:
| Component | Impact on Spraying | Optimal Range |
|---|---|---|
| Base Viscosity | Affects initial flow and atomization | Depends on paint type |
| Thixotropy | Influences sagging and coverage | Must match application method |
| Temperature Sensitivity | Changes flow characteristics | Consider ambient conditions |
| Shear Thinning | Determines spray pattern formation | Varies by paint chemistry |
| Solids Content | Affects final film thickness | Must balance with viscosity |
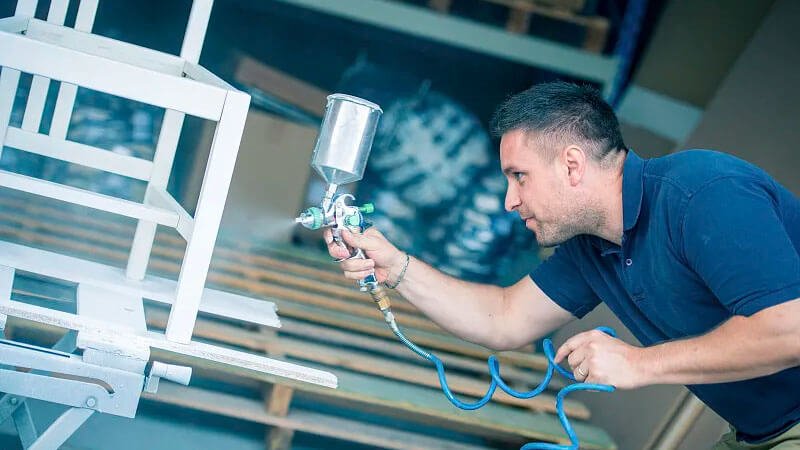
One memorable case involved a furniture manufacturer who struggled with inconsistent finish quality. Their problem wasn't the paint quality but rather varying viscosity levels throughout the day. After implementing proper viscosity measurement protocols, their rejection rate dropped from 15% to under 2%.
Different Methods of Paint Viscosity Measurement
Many painters don't realize that different measurement methods suit different paint types and applications. Choosing the wrong method can lead to inaccurate readings and poor results.
The main viscosity measurement methods include flow cups (Ford, Zahn, DIN), rotational viscometers, and digital viscometers. Flow cups are most common for spray applications due to their simplicity and correlation with spray performance.
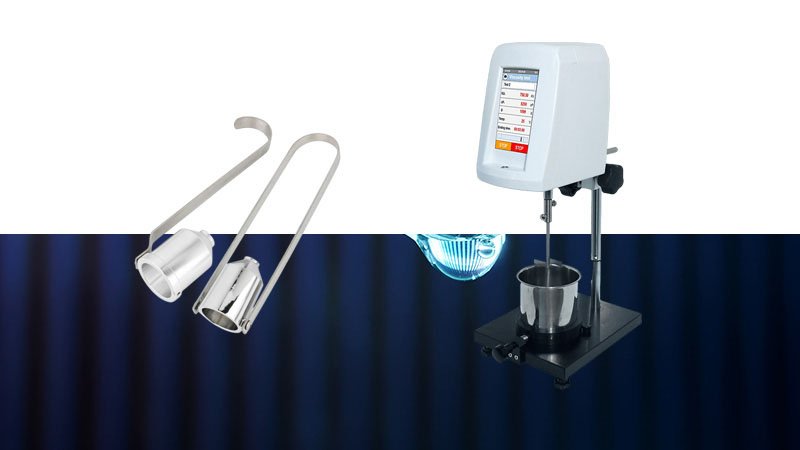
Through years of working with paint shops, I've developed a clear understanding of each method's strengths and limitations:
Comparing Viscosity Measurement Methods
The choice of measurement method significantly impacts your ability to maintain consistent finish quality. Here's what I've learned about each approach:
| Method | Advantages | Limitations | Best For |
|---|---|---|---|
| Flow Cups | Quick, portable, inexpensive | Operator dependent, limited range | Production floor |
| Rotational Viscometers | Precise, repeatable | More expensive, requires training | Lab testing |
| Digital Viscometers | Accurate, data logging | High initial cost, complex setup | Quality control |
| Dip Cups | Very simple, fast | Less accurate, no numerical data | Quick checks |
| Falling Ball | Highly accurate | Limited to transparent fluids | R&D testing |
Last year, I helped a marine coating company transition from basic dip cups to calibrated flow cups. The improvement in their coating consistency was dramatic – warranty claims dropped by 40% within three months.
How to Measure Paint Viscosity for Spraying
Incorrect measurement technique is a common cause of finishing problems. Even with the right tools, proper measurement procedure is crucial for accurate results.
To measure paint viscosity: First, ensure paint temperature is stable at room temperature (25°C). Fill the viscosity cup completely, lift it from the paint, and time how long it takes for the continuous flow to break. Compare this to manufacturer specifications.

From my experience training paint shop personnel, I've developed a comprehensive approach to viscosity measurement:
Step-by-Step Measurement Process
Proper viscosity measurement requires attention to detail and consistency. Here's the process I've refined through years of field experience:
| Step | Key Points | Common Mistakes | Quality Control |
|---|---|---|---|
| Sample Preparation | Proper mixing, temperature control | Inadequate mixing, wrong temperature | Check temperature |
| Cup Selection | Match to paint type | Wrong cup size/type | Verify calibration |
| Measurement Technique | Proper filling, timing | Incorrect timing method | Double-check readings |
| Documentation | Record results, conditions | Missing environmental data | Maintain logs |
| Adjustments | Careful thinning steps | Over-adjustment | Verify after changes |
Working with an automotive refinish shop, we discovered their inconsistent results stemmed from temperature variations throughout the day. By implementing temperature correction factors and standardized measurement procedures, they achieved much more consistent finishes.
The importance of regular calibration cannot be overstated. I recommend checking cup calibration monthly using standard oils – this simple practice has helped many shops maintain consistent quality. Remember that environmental conditions, especially temperature, can significantly affect measurements. Always measure and record the paint temperature along with viscosity readings.
Conclusion
Proper paint viscosity measurement is fundamental to achieving consistent, high-quality spray finishes. By understanding measurement methods, following correct procedures, and maintaining equipment calibration, you can dramatically improve your finishing results and reduce waste.